Yes—you can wash a car with a pressure washer, but treat it as a rinse tool, not a close-range blasting tool. The safe approach is to keep the spray moving, work from a sensible distance, use car-wash products for the actual wash, and keep the stream away from openings and delicate exterior parts. Your vehicle owner’s manual is the final word for its paint, trim, cameras, charging equipment, and other model-specific features.
Regular exterior care matters beyond appearance: the nonprofit Car Care Council says washing and polishing helps protect a vehicle’s finish from the damaging effects of acid rain. That is general car-care guidance; whether a pressure washer is suitable, and how to use one, remain vehicle- and tool-specific.
A useful vehicle-specific example comes from Polestar: its 2025 Polestar 2 manual says to use sweeping movements, keep a high-pressure nozzle at least 30 cm (13 inches) from the vehicle, and avoid spraying locks or the inside of the charge door directly. Polestar’s 2025 Polestar 3 manual gives similar instructions for that model while adding cameras, trim, air intakes, and the charge-port area to its no-direct-spray list.
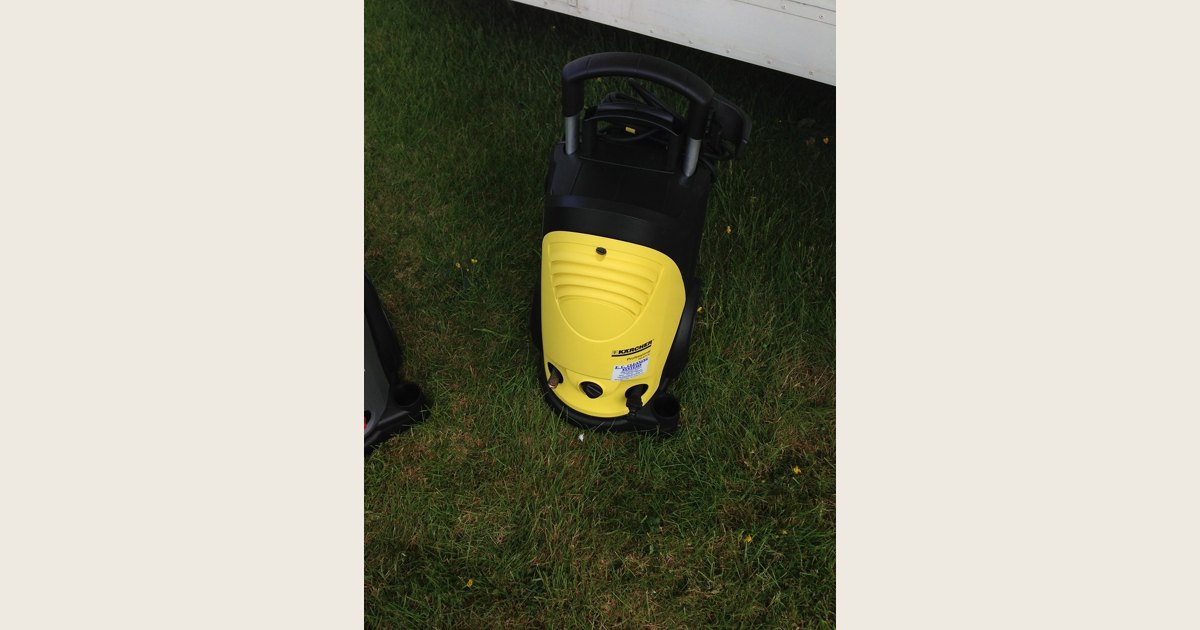
Featured image credit: Photo: Karcher pressure washer by Kai Hendry, https://www.flickr.com/photos/16105436@N00/9022069427; https://creativecommons.org/licenses/by/2.0/. Resized and padded. Illustrative stock photo; no product testing is implied.
The short version: safe car-washing rules
- Keep a buffer. Polestar specifies a 30 cm (13-inch) minimum for its vehicles; treat that as a manufacturer-specific baseline, not a rule for every make or washer. Follow your own manual if it requires more clearance or prohibits a method.
- Keep the rinse broad and moving. Use continuous, overlapping passes—never a stationary, concentrated hit on paint.
- Close everything first. Shut doors, windows, hatches, fuel doors, and other panels before washing. On an EV or plug-in hybrid, also close the charge door and follow its manual’s charging-area directions.
- Do not target vulnerable parts. Keep direct spray away from locks, cameras, trim, air intakes, weather seals, and charging areas when your vehicle manual identifies them as sensitive.
- Rinse before contact washing. Removing loose grit before using a mitt, sponge, or towel helps limit scratches.
- Hand-wash instead if control is uncertain. Do not guess about an aggressive tip, an unknown pressure setting, damaged trim, or runoff handling.
Before you start: decide whether your car and washer are a good match
A pressure washer can remove loose mud and road film before a wash mitt touches the paint, but it is not the best choice for every vehicle or condition.
Inspect the exterior in daylight for peeling clear coat, loose decals, cracked trim, damaged seals, loose badges, body-panel gaps, or a broken camera cover. Do not use a forceful rinse to see whether a part holds. Choose a gentler hand rinse or repair a compromised part first.
Then check the vehicle owner’s manual and the pressure-washer manual. The vehicle manual identifies what to protect; the washer manual covers its attachments, detergents, safety steps, and operating limits. A PSI number printed on a washer is not, by itself, a car-washing instruction.
If you are new to the machine, review our guide to pressure-washer setup, nozzles, and safe technique before bringing the wand near the car. If you will store the washer through freezing weather after the job, follow our pressure-washer winterizing steps rather than leaving water in it.
Pressure, nozzle, angle, and distance: control matters more than a single PSI number
There is no one pressure setting that is safe for every car, washer, nozzle, and condition. That is why a practical rule is more useful than a universal PSI claim: use only the combination your vehicle and washer documentation supports, begin cautiously, and preserve a generous working distance.
Choose a forgiving spray pattern
Avoid treating a concentrated stream as a cleaning shortcut. A broad fan pattern is easier to move evenly. If your machine has adjustable output, start at its least aggressive car-appropriate setting as specified by its manual. Do not use an attachment reserved for stripping, etching, or heavy-duty surface cleaning.
Nozzle colors and angles vary by manufacturer, so color alone is not dependable guidance. Read the markings and manual for your wand and tip. When the choice is unclear, hand-wash rather than guess.
Keep a working buffer
Distance gives you time to see how the water behaves on the surface. Polestar’s official high-pressure-washing guidance specifies at least 30 cm (13 inches) from the vehicle and sweeping movements; its Polestar 3 manual similarly calls for circular motion with the nozzle at least 30 cm (1 foot) from the surface. Those are not universal manufacturer limits, but they are a sensible reminder that close, stationary spraying is not the method to copy. See the Polestar 2 high-pressure-washing guidance.
Work in smooth passes, overlapping slightly as you go. Do not pause with the trigger held while deciding where to go next. If dirt remains, make another controlled pass or use car shampoo and a soft wash tool; do not solve it by moving the nozzle closer.
Aim across surfaces, not into gaps
Keep the spray flowing across panels rather than driving water into a seam, opening, or accessory. This is especially important around door edges, mirrors, emblems, window seals, cameras, sensors, lights, vents, and trim. For an electric vehicle or plug-in hybrid, close the charge door and never wash with the charging cable connected when the vehicle manual gives that instruction. For example, Polestar tells owners not to wash while charging or spray directly onto locks, cameras, trim, air intakes, or the charging-port area. Its full hand-washing instructions are here.
Picture rinsing dried road grit from a winter commute: the tempting move is to hold the trigger on one stubborn patch. Instead, keep the fan moving, step back, and let shampoo plus a soft mitt handle what the rinse leaves behind.
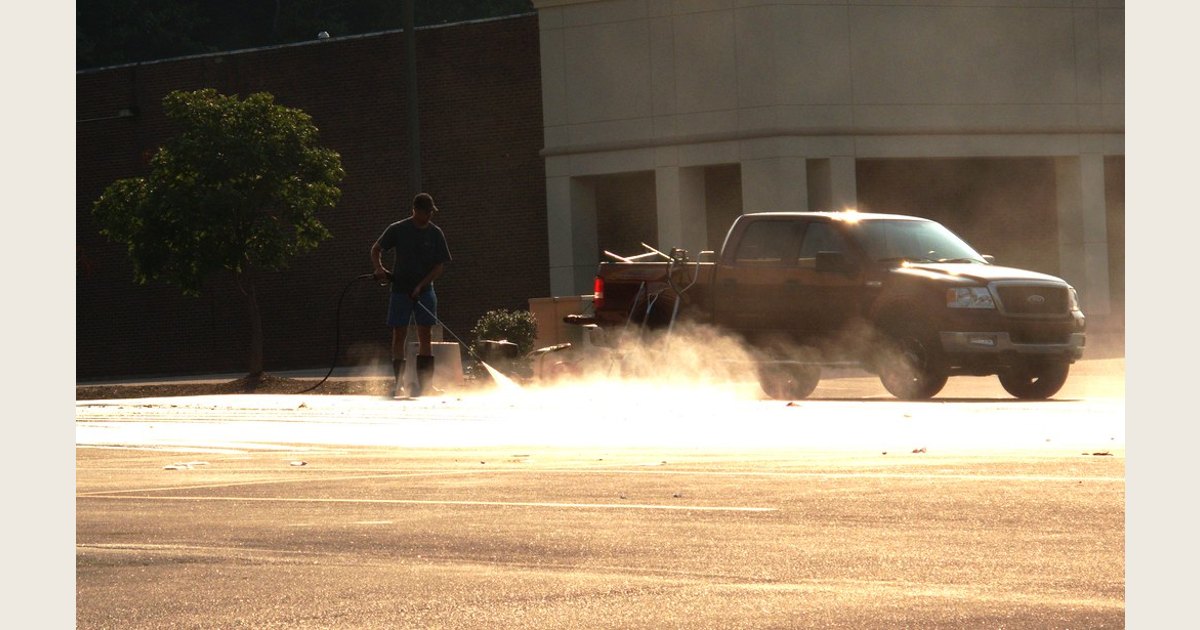
An illustrative pressure-washer photo. Match your technique to your vehicle and washer manuals rather than using the photo as setup guidance.
Photo: Pressure Washer by urbanwoodchuck, https://www.flickr.com/photos/72173451@N00/3902927292; https://creativecommons.org/licenses/by/2.0/. Resized and padded. Illustrative stock photo; no product testing is implied.
How to wash a car with a pressure washer, step by step
1. Park in the right place and let the car cool
Choose a designated wash area that handles wastewater appropriately and gives you room to move without dragging the hose across paint. Avoid direct sun when possible; products that dry on a hot panel are harder to remove. Let hot panels and wheels cool first.
Close doors, windows, trunk or liftgate, sunroof, and fuel door. If you drive an EV or plug-in hybrid, close the charge door and follow the manufacturer’s instructions about disconnecting the cable before washing; Polestar, for example, says not to wash while a cable is connected.
2. Set up a conservative rinse
Fit the attachment and use the setup your washer manual identifies for vehicle washing, if it provides one. Point the wand away from the vehicle before pulling the trigger, then begin from a conservative distance.
Wear eye protection and non-slip footwear, keep electrical connections dry, and never pressure-wash a person, pet, or your hands.
3. Rinse the lower areas first
Start with the underbody, wheel arches, and bumpers, then rinse the rest of the vehicle from top to bottom. This clears loose grit before contact washing. Keep the nozzle moving and away from openings, locks, cameras, trim gaps, air intakes, and the charge-port area.
If heavy grime remains, do not move the nozzle closer. Use a vehicle-safe cleaner only as its label and your vehicle instructions permit, then rinse thoroughly.
4. Wash the paint with shampoo and a soft tool
A pressure rinse removes loose soil; it does not replace a contact wash. Use automotive shampoo, plenty of water, and a clean, soft wash mitt or sponge. Wash one section at a time, rinse the mitt often, and do not let detergent dry on the surface.
Polestar calls for a sponge, car shampoo, and plenty of lukewarm water after the initial rinse. It also advises prompt removal of bird droppings, tree sap, road salt, and other corrosive contamination because these can damage or discolor paint. Read the official washing sequence.
5. Final-rinse and dry before spots form
Rinse every washed section thoroughly with the same controlled technique. Then dry with clean, soft microfiber towels, a chamois, or another vehicle-safe drying tool. Drying is not just cosmetic: it removes remaining water before mineral spots can dry on the finish.
Afterward, wipe door jambs and sills gently, and make sure door drainage openings are clear of loose dirt. Do not probe drainage holes with hard tools.
Areas that deserve extra caution
Keep direct high-pressure spray away from:
- Locks and handles: Polestar expressly says not to spray locks directly.
- Cameras and sensors: Clean visible grime with water and automotive wash detergent as your vehicle manual directs rather than forcing a concentrated stream at the lens or sensor face.
- Plastic, rubber, and glossy trim: Use component-appropriate products. Polestar warns against waxing or polishing plastic and rubber and against abrasive polish on glossy trim. Its trim-care guidance explains why.
- Air intakes, seals, badges, and body gaps: Wash across these areas, not into them.
- Charging areas: Disconnect the cable, close the charge door, and keep spray away from the port and opening.
Check care instructions for factory-installed or aftermarket accessories, film, graphics, and coatings too.
Common mistakes that turn a quick rinse into a bad wash
Using distance as the only safeguard. Staying back helps, but it does not make a direct spray into a lock, opening, or camera appropriate. Direction and movement matter just as much.
Chasing a stubborn spot with more force. If a stain remains, switch to the correct cleaner and a soft contact-wash method, or seek advice for tar, sap, corrosion, or paint damage.
Washing in hot sun. Detergent and minerals can dry before you remove them. Work in shade or cooler conditions when possible.
Using household cleaners or abrasives. Car paint, coated trim, rubber, and matte surfaces may need different products. Follow product labels.
Skipping the final dry. Letting water evaporate can leave spots and may turn a simple wash into a polishing job.
When a pressure washer is not the right tool
| Situation | Better choice |
|---|---|
| Paint is peeling, trim or seals are loose, or a camera cover is damaged | Hand-wash gently or repair the affected part first. |
| You cannot identify the attachment or a safe vehicle-wash setup in the manuals | Use a hose rinse and hand wash instead of guessing. |
| The owner’s manual discourages pressure washing | Follow that model-specific instruction. |
| You lack a suitable wash area or runoff control | Choose a suitable wash facility or postpone the wash. |
A pressure washer is optional. A hose rinse, proper car shampoo, clean wash mitt, and thorough drying can deliver a safe result without unnecessary force.
Bottom line
You can wash a car with a pressure washer without treating paint damage as inevitable. Keep the nozzle moving, preserve a safe buffer, aim across surfaces rather than into openings, and use car shampoo plus soft contact washing for the finish. Most important, do not let a generic PSI number overrule your vehicle owner’s manual: its instructions for your specific paint, trim, cameras, seals, and charging hardware come first.