Winterizing a pressure washer comes down to one goal: get every drop of water out of the machine, or replace it with something that won’t freeze. Run the unit until the detergent line is clear, shut off the water, squeeze the trigger to release pressure, drain the hose, gun, and wand, then either clear the water out of the pump or push pump-saver antifreeze through the inlet. On a gas unit, deal with the fuel and check the oil too. The job takes about 20 to 30 minutes, and it matters because water expands as it freezes — inside a sealed pump, that can crack castings and split seals.
Key Takeaways
- The real enemy is trapped water in the pump, not cold air. Draining thoroughly is the core of the job.
- You do not need pump saver if you can store the machine somewhere that never drops below freezing.
- Electric and gas units share the water steps; only gas units need fuel and engine-oil attention.
- Your model’s operator manual is the authority on oil type, fuel type, and pump specifics.
- Label the machine after winterizing so you remember in spring whether there’s antifreeze in the pump.
Why Freezing Damages a Pressure Washer
When water freezes it expands, and inside a pressure washer it collects where nothing can flex: the pump head, the unloader valve, the check valves, and the narrow passages behind the nozzle. A cracked pump often ends a consumer-grade machine, because the pump is the expensive assembly — before ordering one, price it against a comparable new unit.
That also tells you when you can relax. If your storage spot stays above freezing all winter, the risk is gone. Otherwise — unheated garage, shed, or outdoors — assume it will freeze.
What You Need (and What You Can Skip)
Time: 20–30 minutes. Difficulty: beginner.
Genuinely required: a garden hose and water supply, a bucket or drain area, and your unit’s operator manual. Manufacturers publish manuals free by model number — Generac uses a model/serial lookup (Generac, retrieved 2026-09-14), and Kärcher hosts an Operator Manuals & Parts Finder for its electric and gas machines (Kärcher North America, retrieved 2026-09-14). Find the model number on the data tag before you start.
Optional: pump saver antifreeze, a small aerosol or bottle that screws onto the pump’s water inlet and pushes a non-freezing, lubricating fluid through it — cheap insurance for unheated storage, unnecessary above freezing, and never a substitute for draining the hose and gun. Also optional: an air compressor at low pressure only, since high-pressure air can damage pump seals.
How to choose a pump saver
You are buying a fitting and a formulation, not a brand. Three label checks before you pay:
- Does the fitting match your inlet? The connector has to match your machine’s water-inlet thread, or fluid leaks onto the floor instead of into the pump.
- What’s the active ingredient? Read the label’s hazard statements rather than assuming a pump saver is harmless — they tell you how to handle and store it around children and pets.
- How much is one treatment? The label states a volume or spray duration per treatment. Match that against how many machines you’re treating.
Do not pour automotive radiator antifreeze into a pressure washer pump. It isn’t formulated for pump seals, and it’s a disposal problem. Ethylene glycol, the active ingredient in many antifreezes, is odorless with a sweet taste and usually brightly colored, so accidental swallowing can happen; ingesting larger amounts can cause serious illness or death, and federal health guidance is to use antifreeze with caution and keep it out of the reach of children (ATSDR ToxFAQs: Ethylene Glycol, retrieved 2026-09-14).
The Six-Step Winterizing Process
Step 1: Flush the detergent system
Leftover detergent can dry into residue that gums up the soap injector and low-pressure nozzle. Attach the water supply, set the machine to the detergent (low-pressure) setting, then move the siphon tube into a bucket of clean water. Run one to two minutes until no suds appear and the discharge runs clear.
Step 2: Shut off the water and release the pressure
Turn off the engine or unplug the motor first, then shut off the water at the spigot. Squeeze the spray gun trigger until no more water comes out and the hose goes slack. Residual pressure can be surprising, so point the wand at the ground and keep hands clear. Squeeze a second time to verify.
Step 3: Drain the hose, gun, and wand
Disconnect the garden hose from the inlet and the high-pressure hose from both the pump and the gun. Hold each piece vertically to drain, then walk the length of the high-pressure hose while coiling it to push the last water out. Separate the wand from the gun, drain both, and shake the nozzle tips dry. These parts hold water in awkward bends, so a rushed job leaves trouble behind.
Step 4: Clear or protect the pump
This is the step that actually saves the machine. Pick one of two paths:
If storing above freezing: tilt the unit to drain the pump, then work the remaining water out. On a gas unit, disconnect the spark-plug lead first so the engine cannot fire, then pull the starter cord slowly a few times. On an electric unit, only cycle the motor if your manual says to, and never for more than a couple of seconds — running a pump dry scores the seals you’re trying to protect. If the manual is silent, skip the cycling and use pump saver.
If storing below freezing: attach pump saver to the water inlet and follow the product’s directions until fluid emerges from the outlet. Leave it in over winter. Colored fluid at the outlet means the pump interior is coated.
Step 5: Handle the fuel (gas units only)
Two defensible options, and your engine manual should say which it prefers: add a fuel stabilizer and run the engine a few minutes so treated fuel reaches the carburetor, or drain the tank and run the engine until it stops.
If you drain: let the engine cool first, work outdoors, and catch the fuel in a portable gasoline container rather than an open bucket or a milk jug. Federal fire-safety guidance is to fill portable gasoline containers outdoors with the container on the ground, store products in their original containers out of the reach of children and pets, and keep anything that can catch fire away from open flames or heat sources (U.S. Fire Administration, retrieved 2026-09-14). Keep the work away from water heaters, furnaces, and pilot lights.
Knowing what’s in the tank helps you pick. Most U.S. gasoline is E10 — 10% ethanol, 90% gasoline — which is EPA-approved for any conventional gasoline-powered vehicle, while higher blends like E15 and E85 are approved only for newer light-duty and flex fuel vehicles respectively (U.S. DOE Alternative Fuels Data Center, retrieved 2026-09-14). Those approvals cover vehicles, not small engines, so check your engine manual for the maximum ethanol content it permits.
Run the engine outdoors. Federal guidance for portable generators — the same class of small gasoline engine — is to run them at least 20 feet from doors, windows, and garages to avoid carbon monoxide poisoning (National Weather Service, retrieved 2026-09-14). The same applies here.
Step 6: Check the oil and store the machine
Check the engine oil against your manual; if it’s near a service interval, changing it now means one less task in spring. Some pumps have serviceable oil and some are sealed — the manual tells you which. Store the machine with hoses coiled loosely and nozzle tips in a labeled bag. A slab floor runs colder than the air above it, so a pallet or scrap plywood underneath keeps the machine off any water that tracks in. Tape a note to the handle saying whether pump saver is in the pump.
Electric vs. Gas: What Changes
| Task | Electric | Gas |
|---|---|---|
| Flush detergent line | Yes | Yes |
| Release pressure, drain hose/gun/wand | Yes | Yes |
| Protect pump (drain or pump saver) | Yes | Yes |
| Fuel stabilizer or tank drain | Not applicable | Yes |
| Engine oil check | Not applicable | Yes |
| Spark plug / battery attention | Not applicable | Check manual |
| Cord care | Coil loosely, inspect for nicks | Not applicable |
Electric units are simpler — no fuel system — but not freeze-proof. The pump is still full of water, so Steps 1 through 4 apply to a corded machine too.
Common Mistakes That Undo the Work
Draining the hose but not the pump. The hose is visible; the pump is sealed and easy to forget. It’s the part that cracks.
Using pump saver without draining first. Pushing protectant into a pump full of water dilutes it. Drain, then protect.
Assuming a garage is warm enough. An unheated attached garage can drop below freezing in a cold snap.
Storing with detergent in the line. Dried residue is a reason a soap injector won’t siphon come spring.
Spring Startup Checklist
- Run water through the pump with the engine or motor off until any pump saver is flushed out.
- Inspect hose and cord for cracks, and check O-rings at the fittings.
- Gas: check oil, add fresh fuel, and start the engine outdoors.
- Purge air by squeezing the trigger with the water on before starting under pressure.
- Test on a low-pressure nozzle before moving to a narrow tip.
Troubleshooting
Pressure is weak or pulsing. Start with the easy checks: is the water supply fully open, is the inlet screen clogged, is there air in the line? Purge with the trigger held open for 30 seconds before assuming a pump problem.
No water comes out at all. Check for a frozen or blocked nozzle first, then soak the tip in warm water and clear it with the tip cleaning tool.
The detergent won’t siphon. Confirm you’re on the low-pressure nozzle; many units only draw detergent at low pressure. Then check the siphon tube and filter for dried residue.
A crack or leak at the pump. Stop — a cracked housing is a repair-or-replace decision.
Frequently Asked Questions
Do I need to winterize if I only get a few freezing nights?
The pump doesn’t care how long the cold lasts, only whether the water inside froze. A single hard overnight freeze can crack a pump that’s still full. Where freezes are occasional rather than seasonal, the cheapest approach is usually to drain thoroughly and bring the machine indoors on cold nights rather than buy pump saver.
How long can I leave pump saver in the pump?
Through the storage season, then flush it out with water before the first use. The label states the product’s own storage claim; that number governs. If the machine sat two seasons untouched, flush and re-treat.
Is it too late if the machine already froze once?
Not necessarily. Let it thaw completely at room temperature, inspect the housing and fittings for cracks, and run it with water before applying full pressure. Holding pressure on the first run is a good sign but not proof — seal and valve damage can surface as a slow drip or pressure loss later, so watch it over the first few jobs.
Editorial note: compiled by the Neat Nest Guide editorial team from the manufacturer documentation and public safety guidance linked above. General guidance only — where it differs from your machine’s operator manual, follow the manual.
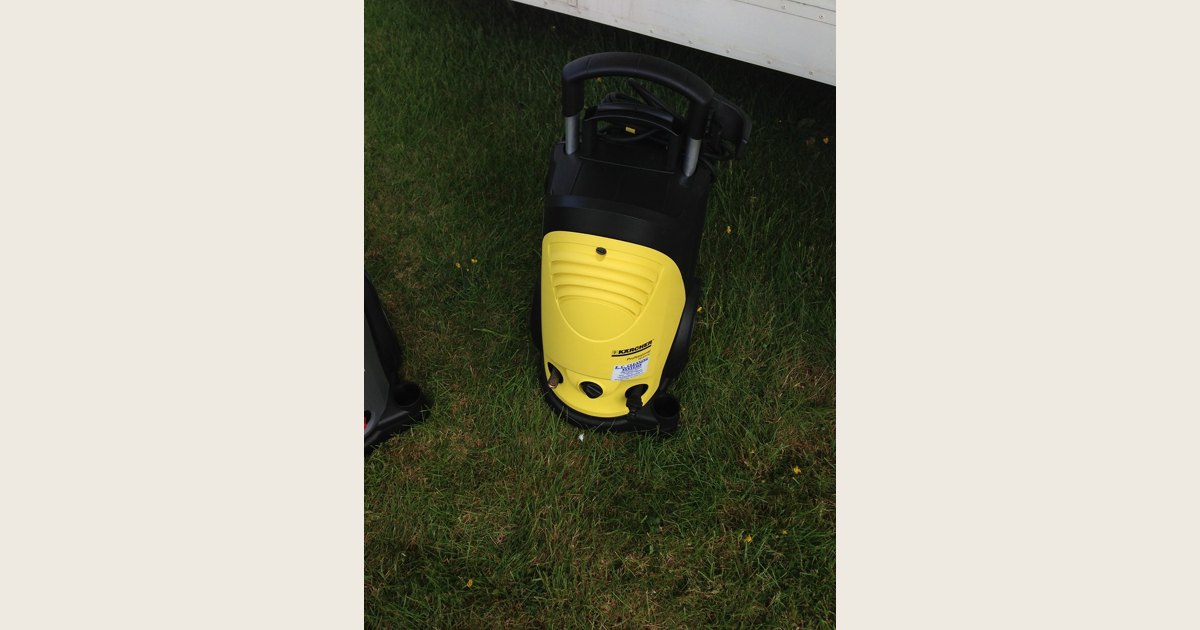
Photo: “Karcher pressure washer” by Kai Hendry, via Flickr, licensed under CC BY 2.0. Resized and padded. Illustrative stock photo; no product testing is implied.